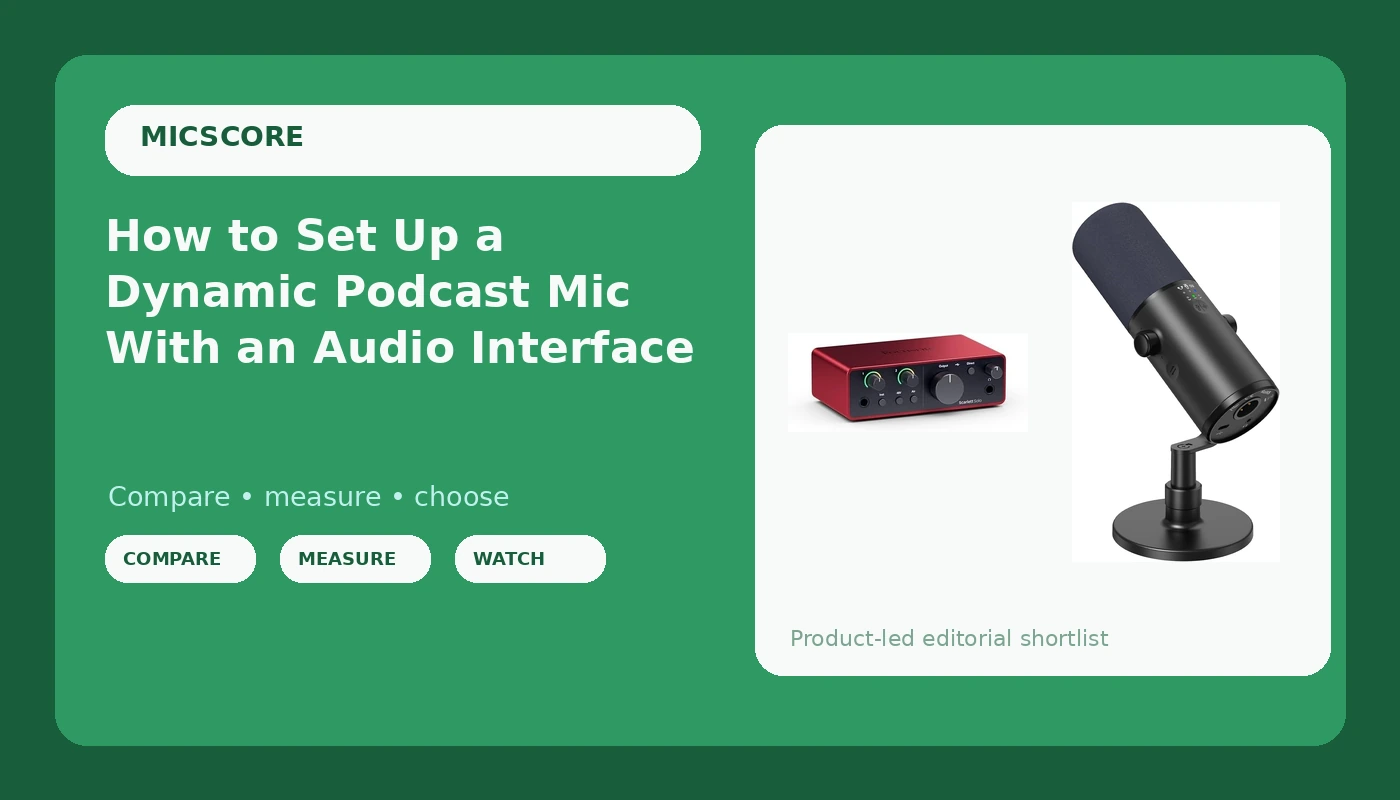
Every week somebody sends me a file and asks why their podcast sounds thin, and every week the answer is the same. They bought gear before they set up the XLR microphone and audio interface path in the right order. The room came last, the gain staging came never, and the microphone got blamed for both.
I have edited more than 4,000 episodes for other people, which means I have heard a cheap dynamic mic in a closet beat an expensive condenser in a kitchen with tile floors, and I have heard both of those mistakes made in the same month. The pattern never changes. The room is the microphone.
This is the order of operations for a two-piece setup: a dynamic podcast mic and a small USB audio interface, plus the steps that make them sound like they cost more than they did. It is a how-to, not a shopping list, though there are exactly two pieces of gear I want you to look at and I will get to both.
Why you should trust me
I am a podcast editor and audio engineer in Brooklyn. I run a small studio where I record voiceover and teach podcasters how to sound good, and I spend most of my working life inside other people's raw takes. That is the useful part. I do not hear the polished version, I hear what survives an edit at 1 a.m. when the host forgot to close a window.
I keep spectrograms of every mic that comes through the studio, and I record in two rooms: a treated one for client work and an untreated kitchen for the honest home test, because that is where most podcasters actually record. I have run more than 30 mics through that kitchen. I do not review live-sound or instrument mics, and I do not do DAW tutorials, because other people do those better.
One thing I will not do is pretend I ran lab measurements on the two specific units below. I did not put them in an anechoic chamber. What I can tell you is how they fit into a chain, what to check the day they arrive, and which mistakes will make either of them sound broken.
How I picked these two
The selection rules were simple and boring, which is what you want.
The mic had to work both ways. XLR for the day you add an interface, USB for the day you do not have one. A mic that only does one of those has an expiration date.
It had to be a cardioid dynamic. Off-axis rejection matters more than frequency response for a home podcaster with a noisy street outside. A dynamic capsule ignores the fridge, the fan, and the neighbor's dog better than any condenser at any price.
The interface had to have a real gain knob. Dynamic mics are low output. They need more clean gain than condensers, and the preamp is where cheap interfaces fall apart. A single XLR input, headphone monitoring with direct monitoring, and USB-C were the non-negotiables.
Nothing that needs a second purchase to be usable. No mic that only sounds right through an accessory you have not bought yet. That is the upgrade treadmill wearing a nicer shirt.
What I did not do is rank these by spec sheet. Spec sheets brag about frequency response nobody can hear. What matters is what happens in your room, on your desk, with your voice.
The two pieces this setup is built on
One dynamic mic, one interface. That is the entire chain, and everything below is about getting those two pieces to cooperate.
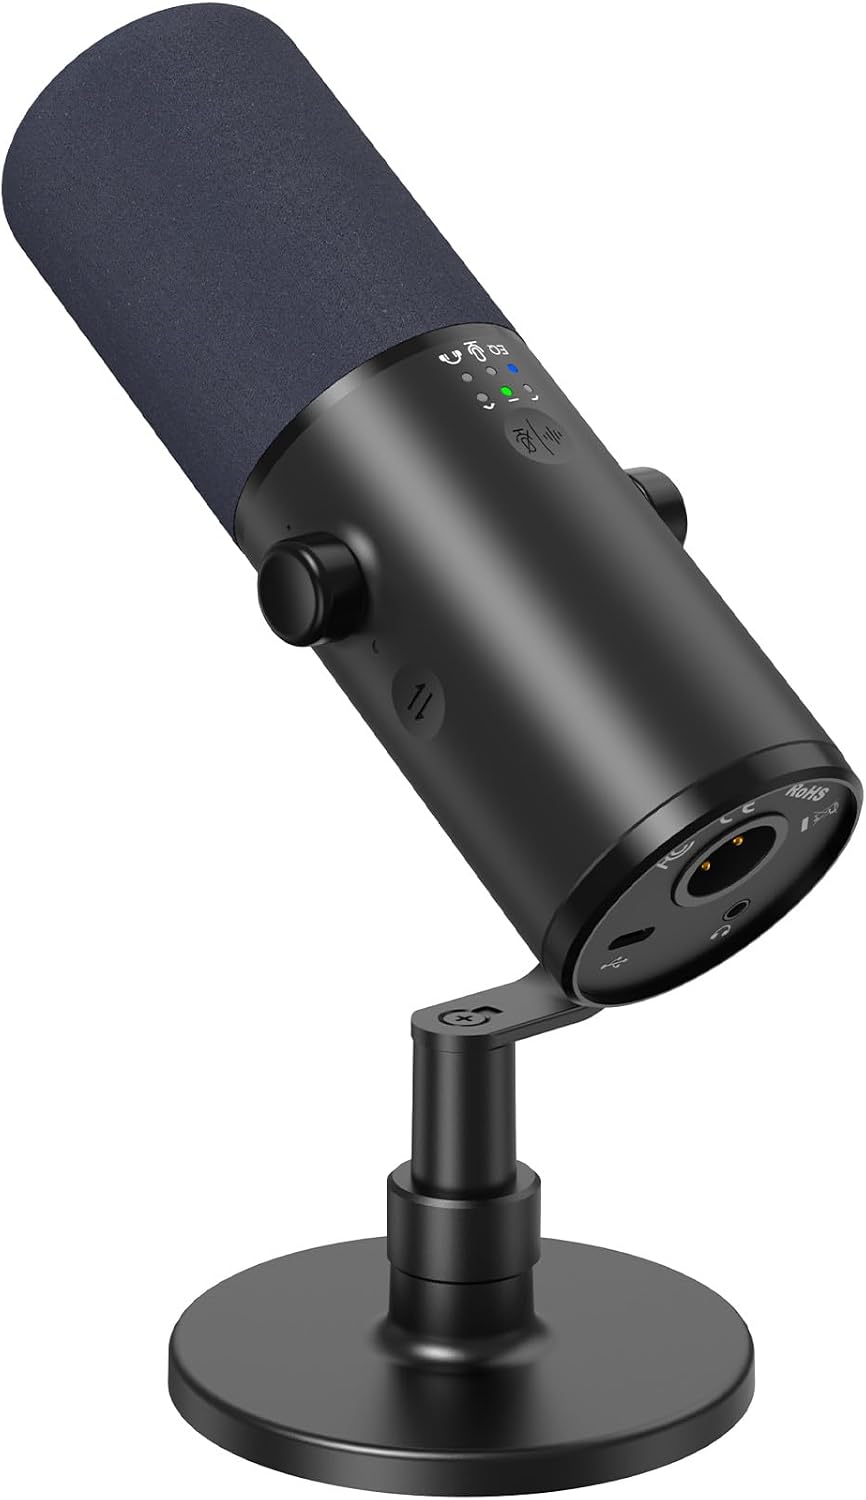
The mic: TONOR Dynamic Podcast Microphone for Content Creators, Cardioid XLR/USB Mic
 Visit on Amazon →
This is the piece that makes the two-path plan work. It is a cardioid dynamic with both XLR and USB outputs, which means you can start tonight by plugging it into a laptop, and you can move to the interface later without buying a second microphone. That single decision saves you from the most common beginner mistake I see in my inbox: buying a USB mic, outgrowing it in four months, and buying a whole new XLR mic plus an interface.
The cardioid dynamic pattern is the other reason it belongs here. Cardioid means it is most sensitive in front and least sensitive behind, so the noise behind you, the window, the fridge, the HVAC, lands lower in the recording than it would with a condenser. You still have to point it away from the noise. The mic does the rest.
Flaws but not dealbreakers: A dynamic capsule needs more gain than a condenser, so on the USB side you are relying on the mic's own preamp, and on the XLR side you need an interface that can supply clean gain without hiss. That is exactly why the second piece below exists. Also budget for a boom arm and a pop filter, because a dynamic mic on a desk stand will pick up every keystroke and every mouse click.
This is for the podcaster who wants one mic that covers the first year, both the laptop-only phase and the interface phase.
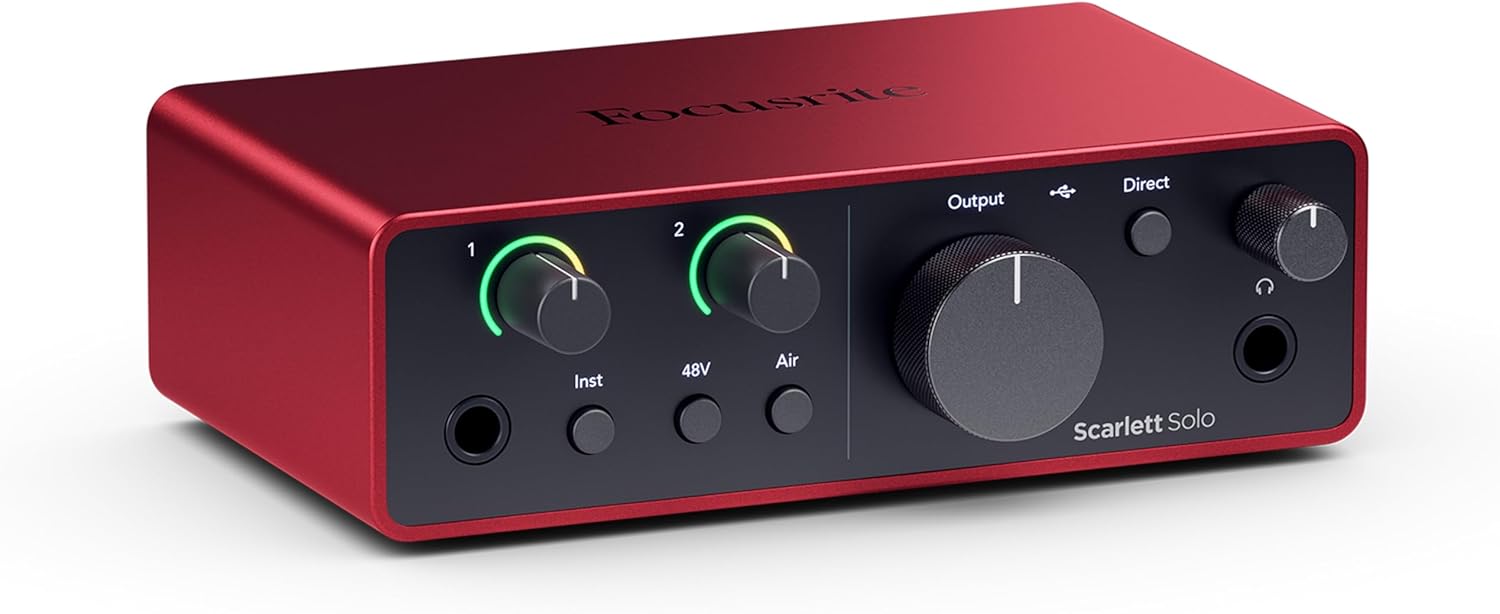
The interface: Focusrite Scarlett Solo 4th Gen USB-C Audio Interface
 Visit on Amazon →
This is the XLR path in one box. One XLR input with a real gain knob, a headphone output with direct monitoring so you hear yourself without latency, and USB-C to the computer. For a single-host podcast, that is the whole job.
Why the interface at all, when the mic has USB? Because the gain knob is the difference between a take you can fix and a take you cannot. On the interface you set level physically, once, and it stays put. In software you end up dragging a slider around between takes and dragging the noise floor up with it. The interface also gives you headphone monitoring that does not depend on your computer's headphone jack, and a clean upgrade path if you ever add a co-host or a second source.
Flaws but not dealbreakers: One input means one mic. If you record with a co-host in the same room, you are shopping for a two-input interface instead, and that is a different article. The Solo is for solo work, voiceover, and interviews conducted over the internet where only your side is on a microphone.
Anyone who records alone and wants their levels to stop moving around between episodes should start here.
The actual setup workflow
Now the part you came for. Do these in order. Skipping ahead to step four is how people end up buying a third microphone.
Step one: pick the corner, not the middle of the room. Put your desk so you speak toward a wall with something soft on it, a bookshelf, a curtain, a hanging blanket, rather than into the open middle of a room with parallel hard walls. Clap once in your recording position. If you hear a quick metallic ring, that is the room talking, and no microphone fixes it.
Step two: mount the mic and kill the desk. Boom arm or a stand with a shock mount, not the little desk stand. Decouple the mic from anything you type on. Add a pop filter or a foam windscreen for plosives. This step costs less than the mic and changes the recording more than the mic does.
Step three: choose one path, XLR or USB. Plug the XLR cable into the interface, or plug the USB cable into the computer. Do not use both at once, and do not leave both connected while your recording software is trying to pick an input. If you are on the XLR path, you do not need phantom power, because a dynamic mic does not use 48 volts. Leave it off.
Step four: set gain with your voice, not with the slider. Put your headphones on. Speak the loudest sentence you expect to record, in your actual performance voice, not a test mumble. Raise the gain knob until the loudest peaks land comfortably below clipping, roughly in the range where you have headroom left, then stop. If you have to crank the knob to get there, you are too far from the capsule, which brings us to step five.
Step five: set distance and angle. Four to six inches from the capsule, speaking across it at a slight angle rather than straight into it. This is where the proximity effect works for you: closer means more low end and more isolation from the room, farther means thinner and roomier. Do not eat the mic and do not sit a foot back. Pick a distance, mark it with a piece of tape on the boom arm, and keep it the same every session.
Step six: monitor with headphones, mute the speakers. Turn on direct monitoring on the interface so you hear yourself with no delay. Mute your computer speakers, or the mic will hear them and you will get a slapback that ruins the take.
Step seven: record 30 seconds of room tone. Sit still and record silence. Then listen to it in headphones, turned up. That is your noise floor: the fridge, the fan, the street. Fix what you can before you record anything real.
Step eight: record a test take and cut it. Not just listen to it live. Import it into your editor, cut the breaths and the ums, and listen to the joins. That is the only honest test, because it is the version your audience hears.
The mistakes that ruin the take
Turning up gain in software instead of at the interface. Every bit of software gain raises the noise floor with the voice. Set level at the knob.
Recording in a hard, empty room and blaming the mic. A blanket behind you and a rug under you will do more than a mic upgrade. I have heard a $300 mic ruined by a $15 desk stand and an empty room.
Buying a condenser first. Condensers are for treated rooms. Dynamics are for real life. Most home podcasters should buy dynamics and stop watching gear videos.
Leaving the input set to the wrong device. If the recording is silent, check the input selection in your software before you check the cable.
Skipping the pop filter. Plosives are the one problem you cannot edit out cleanly. A puff of air on a P is a low-frequency thump that no EQ removes without gutting the voice.
What I left off this list
Condensers, because they belong in a treated room and most people do not have one. USB-only mics, because they close a door instead of opening one. Bundles that include a boom arm and a foam ball but no acoustic anything, because the arm is the cheap part. And cheap XLR cables, which are the single most common cause of the "my mic is broken" email I get. If your signal drops out or buzzes, swap the cable before you return the mic.
What this all costs
Both pieces here are check-current-price items, and the honest math is not about the two of them. It is about the upgrade treadmill: the USB mic you outgrow, the condenser you buy because it looks professional, the interface you buy anyway six months later, and the third mic after that. A dynamic mic that does both XLR and USB plus one small interface is the shortest path off that treadmill.
The rest of the budget is room treatment, and it is the part nobody wants to hear about. A moving blanket, a rug, and a bookshelf full of books will beat a microphone upgrade every single time. That is not a fun answer. It is the answer.
Do the eight steps once, write down your gain setting and your mic distance, and then leave the gear alone. The microphone was never the problem. The order of operations was.