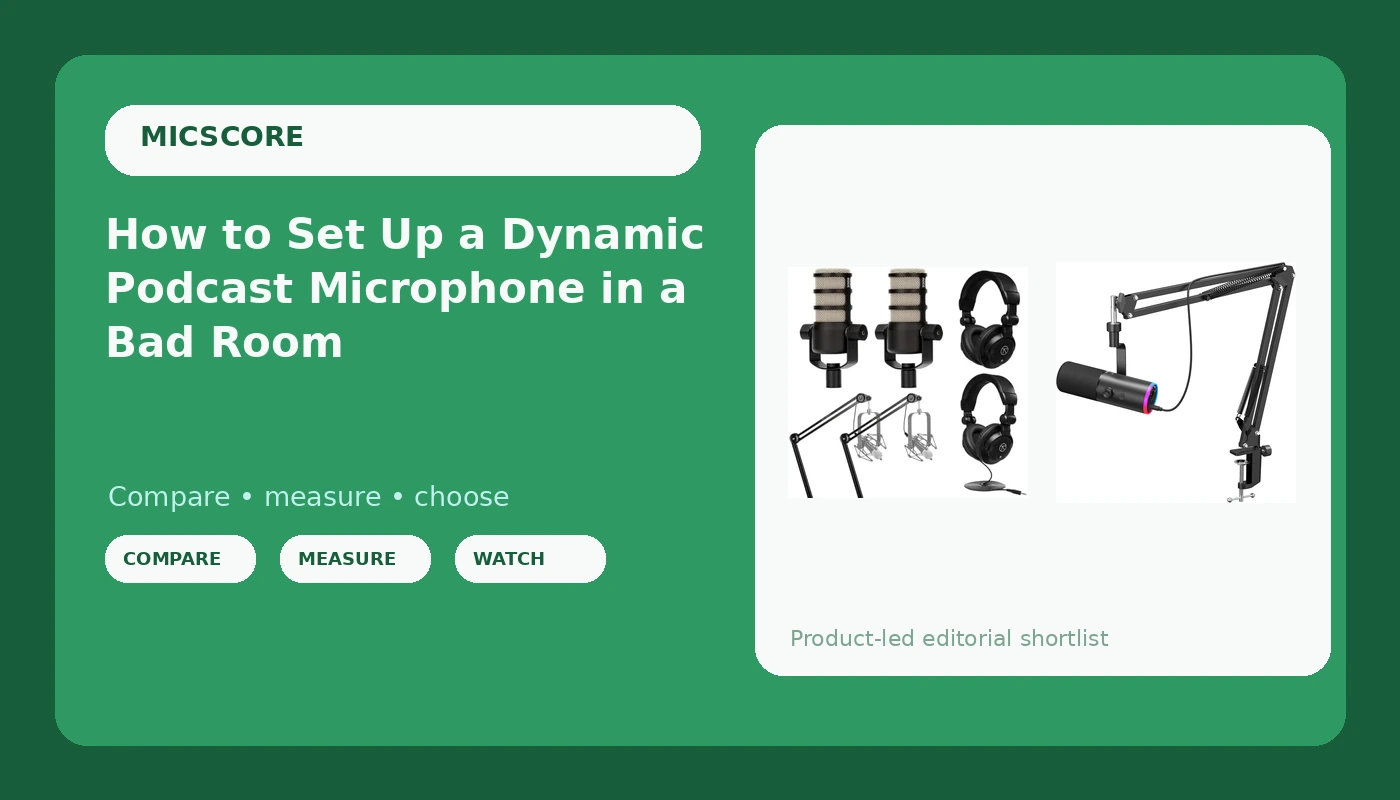
Most home podcasters buy the wrong microphone for the room they actually record in. A dynamic podcast microphone setup is not a shopping decision first, it is a placement and gain decision, and the mic itself is maybe 30 percent of the result. I have edited more than 4,000 episodes for other people, which means I have heard every version of this mistake: a four hundred dollar condenser in an empty spare bedroom, a USB mic pointed straight at a laptop fan, a broadcast dynamic sitting on a desk stand picking up every keystroke.
The fix is boring. A dynamic mic, a real boom arm, and an hour of honest setup work will beat a boutique condenser in a room with bare walls every single time. You do not need a better microphone. You need to use the one you have correctly.
Here is the order I set up a dynamic mic at home, and the two mics I would actually hand a new podcaster.
Why you should trust me
I run a small voiceover and podcast studio in Brooklyn, and the majority of my income comes from fixing other people's audio in the edit bay. I keep spectrograms of every mic that comes through, partly because it is useful and partly because it settles arguments.
The reason I trust the kitchen test over the studio test: almost nobody records in a treated room. My treated studio makes almost anything sound acceptable, which is useless information for a person recording at a kitchen table with a refrigerator humming three feet away and a window over a busy street. So every mic I evaluate gets recorded in the untreated kitchen, at the same distance, with the same gain. What survives that test is what I recommend.
I am a voice guy. No live sound, no instrument mics, no drum overheads. Everything here is about a human being talking into a microphone in a normal apartment.
How I picked and how I tested
A podcast mic for a home recordist has to clear four bars, and frequency response is not one of them. Nobody can hear the difference between a flat curve and a slightly bumped one in a room with a noise floor of 40 dB.
The four bars:
Off-axis rejection. If a car door slams outside, I want the mic to ignore it. A tight cardioid pattern is worth more than any spec sheet bragging about extended high frequency response.
Dynamic capsule. Condensers are for treated rooms. Dynamics are for real life, and roughly 90 percent of home podcasters should buy one and stop watching gear videos.
Close-work behavior. A dynamic mic is designed to be worked at a few inches, which means the proximity effect is part of the sound and plosives are a real risk. If a mic needs a pop filter to be usable, it still has to sound good with one.
What else you must buy. A mic that needs a two hundred dollar interface to sound like itself is not a bargain. I count the whole chain, including the arm, when I judge value.
Both mics below are dynamic, both are cardioid, and both are built for close work. Neither is a condenser pretending to be a podcast mic.
The gear you need before you start
Before you touch a single setting, know what the chain looks like. Microphone, arm or stand, cable, something to hear yourself on, and a room that is not actively fighting you.
The desk stand is the single most common mistake. A mic sitting on the same surface as your keyboard and your laptop transmits every keystroke straight into the recording as structure-borne noise. A boom arm isolates the mic from the desk and lets you get it close to your mouth, which lets you turn the gain down, which lowers the room in the recording. That is the whole trick.
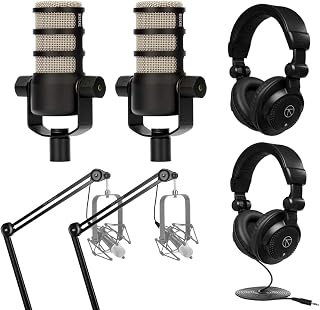
Our pick: Rode PodMic Dynamic Podcasting Microphone Black, Pair, Bundle with 2X Broadcast Arms and 10' XLR Cables, Turnstile Audio Headphones
 Visit on Amazon →
This is the path I would take if you have a co-host or you are building a two-person setup, because the bundle is honest about what a real setup needs: two broadcast arms, two ten-foot XLR cables, and a set of headphones for monitoring. The arms matter more than people expect. A mic on a floppy arm sags within a month, you stop repositioning it, and your levels drift.
The PodMic itself is a broadcast-style dynamic, which is exactly the right tool for an untreated room. It is XLR only, so you will need an interface or a mixer to get it into your computer. Budget for that as part of the purchase, because it is not optional.
Check current Amazon price before you order, since the bundle pricing moves more than the mic does.
Flaws but not dealbreakers: It is a pair, so a solo podcaster pays for a second mic and a second arm they may not need for a year. XLR-only also means no plugging into a laptop on a whim.
This is for the person building a real two-person show who wants the stands and cables solved in one order.
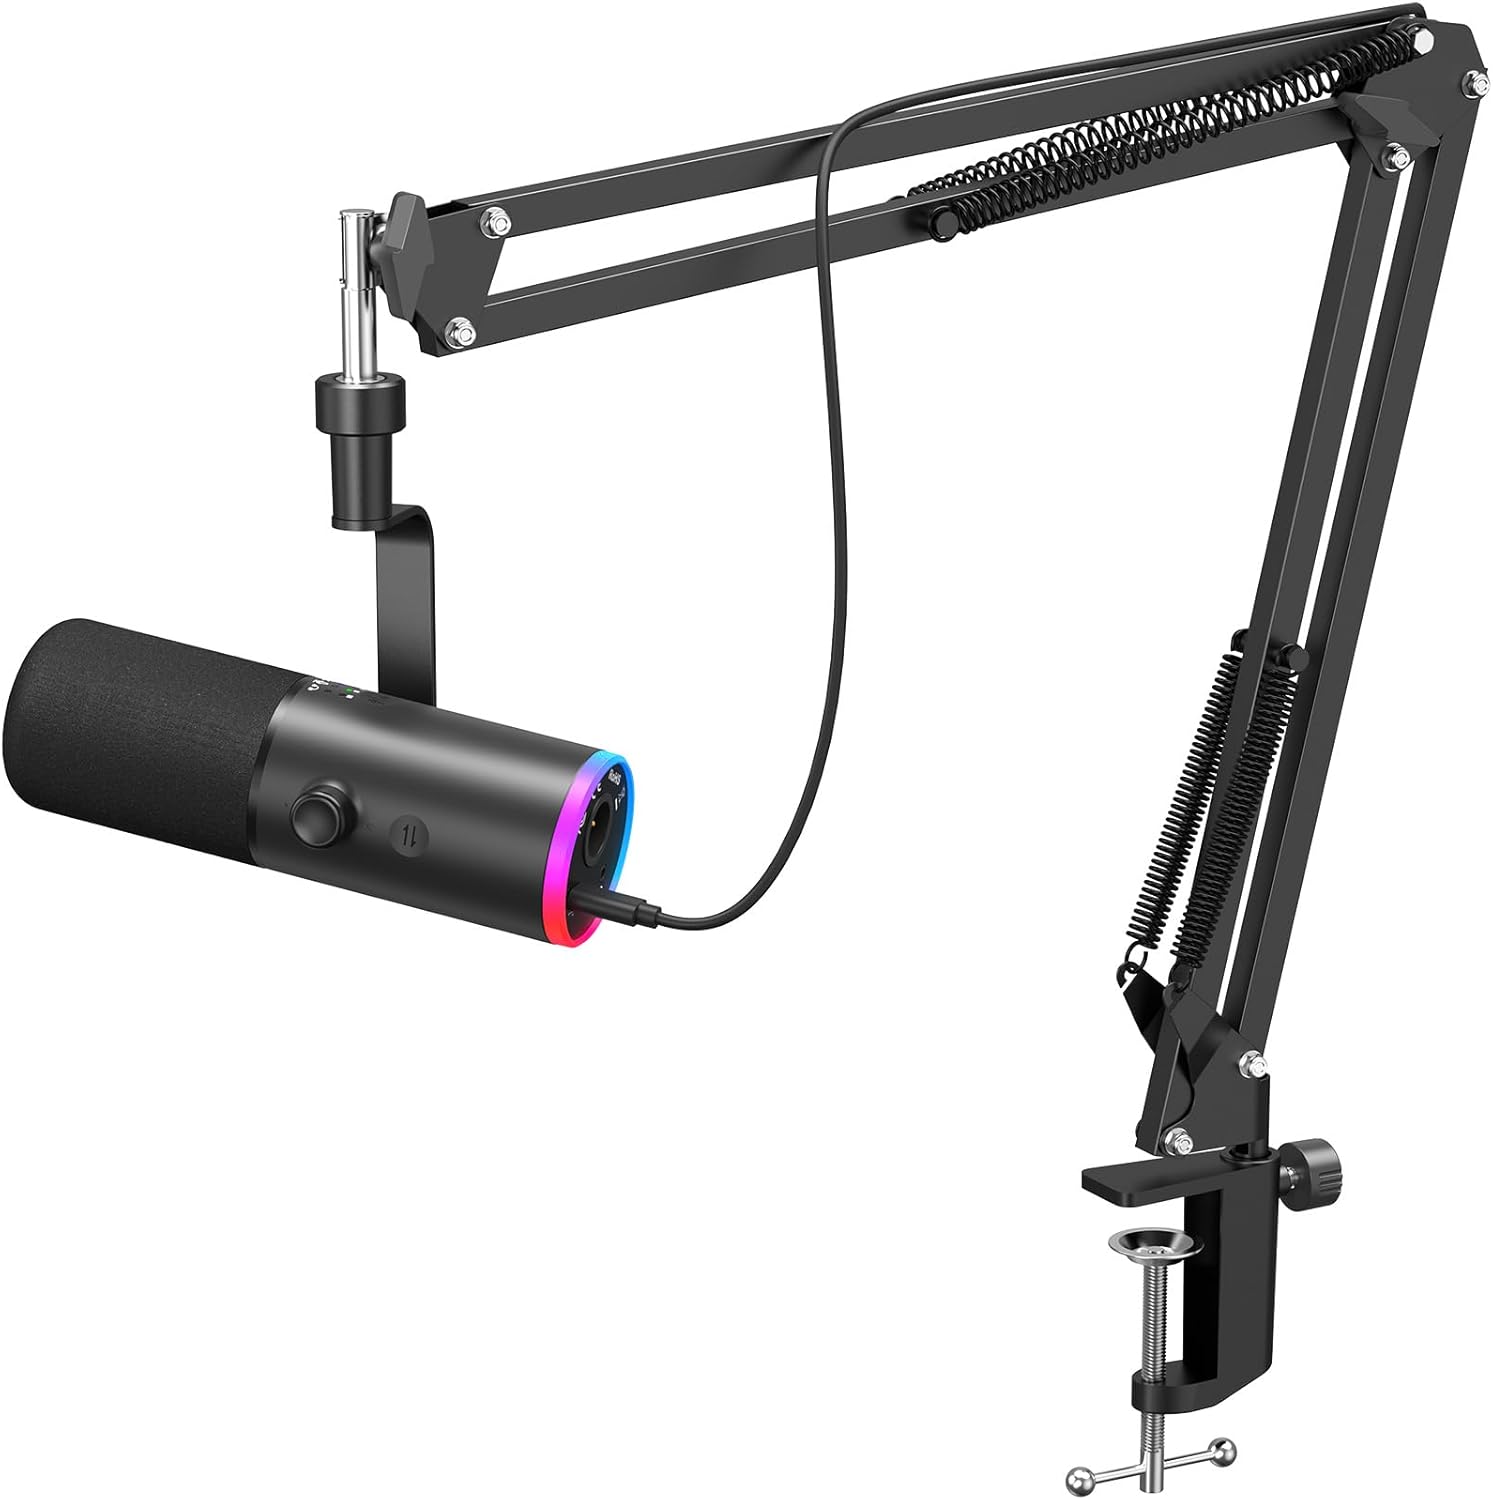
Budget pick: TONOR Dynamic Gaming Microphone XLR/USB Mic with AI Noise Cancellation
 Visit on Amazon →
This is the cheapest legitimate path into a decent sounding show, and the reason is the XLR/USB design. You can plug it straight into your laptop over USB with no interface, no preamp, no gain staging homework, and record tonight. When you eventually want to move to an interface, the XLR output is already there, so the mic does not become e-waste.
It is a dynamic, which is the part that matters most for a home recordist, and it brings on-board AI noise cancellation. That feature is the software layer doing the work that a treated room would normally do. It is genuinely useful in a kitchen or a shared apartment, and it is also the thing to test carefully before you commit to it, because heavy noise suppression can leave your voice sounding slightly underwater. Record thirty seconds with it on and thirty seconds with it off, in your actual room, and pick the one that sounds like you.
Check current Amazon price, since this segment of the market moves constantly.
Flaws but not dealbreakers: The software layer is the wildcard. On-mic DSP and noise cancellation are only as good as the brand's tuning, and a processed voice is harder to fix in the edit than a slightly noisy one. If the suppression sounds artificial on your voice, turn it off and treat the room instead.
This is for the first-time podcaster, the streamer, or anyone recording in a shared space who wants to skip the interface purchase entirely.
The actual setup workflow
Now the part you came for. This works with either mic above, and it works in a room with no acoustic treatment at all.
Step one: pick the spot, not the gear. Stand in the middle of the room and clap once. Listen for the flutter, the fast metallic ring that means you have two bare parallel walls. Move your recording position off-center and out of the corner. Corners collect bass and make every voice sound boxy. A spot in front of a bookshelf or a full closet is worth more than a cheap foam kit.
Step two: mount the mic on the arm, not the desk. Clamp the arm to the back edge of the desk so the mic comes at your mouth from an angle rather than straight on. Straight-on placement puts your breath directly into the capsule and makes plosives worse.
Step three: set the distance. Roughly a hand's width between your mouth and the grille. Closer gives you more voice and less room. Farther gives you more room and more of whatever else is happening in your apartment. If your recording sounds distant and echoey, you are too far away. Move in before you touch any other setting.
Step four: talk across the mic, not into it. Aim the capsule at the corner of your mouth, or angle the mic slightly off-axis from your nose. This kills plosives almost for free and costs you very little high end.
Step five: set your gain properly. If you are on USB, this is a software slider. If you are on XLR, it is the interface knob. Say a full sentence at your normal speaking volume and watch the meter. You want your loudest peaks well below the ceiling, with plenty of headroom, and you want the meter moving on normal speech. The mistake is setting gain so the peaks just touch the top of the meter, which leaves no room for a laugh or a loud consonant. Set it lower than feels right.
Step six: deal with plosives and sibilance. A pop filter a couple of inches off the grille is the standard fix, and a foam windscreen is the cheaper one. Neither is optional if you say "P" words for a living.
Step seven: high-pass everything you can. On an interface or in your recording software, roll off the low end below roughly 80 to 100 Hz. That is where rumble, traffic, and HVAC live, and none of it is your voice. On the TONOR, the on-board processing may already be doing some of this.
Step eight: record thirty seconds of silence. Do not say anything. Just record room tone. Then listen to it in headphones at a normal level. This is the single most educational exercise in podcasting, because it tells you exactly what your listeners hear under your voice. If you can hear a fan, a fridge, or a street, fix that before you buy anything else.
Step nine: record a test and edit it. Say a paragraph, cut out the pauses, and listen back on headphones and on a phone speaker. If it survives both, your setup is done. If it sounds hollow, you are too far from the mic. If it sounds muddy, you are too close or you are speaking into the capsule instead of across it.
Where people go wrong
They buy a condenser for an untreated room. This is the number one mistake I hear in other people's files. A condenser picks up everything, including the reflection off your ceiling. If you cannot treat the room, buy a dynamic.
They upgrade the mic instead of the arm. A three hundred dollar mic on a fifteen dollar desk stand loses to a cheaper mic on a proper boom arm every time. The stand is transmitting your typing into the recording.
They monitor on speakers. Use headphones while you record. Speakers bleed into the mic, and more importantly, you cannot hear what the mic is actually hearing.
They chase "studio quality" in a bedroom. That phrase means nothing. A studio is a room, not a microphone, and no on-mic processing fully replaces one.
They record with the laptop fan spinning. Move the computer off the desk or behind something. A USB mic sitting next to a fan is picking up the fan, no matter what the noise cancellation claims.
What I left out, and why
I did not include large-diaphragm condensers here, even the good ones. They are the right answer for a treated room and a voiceover booth, and the wrong answer for 90 percent of the people reading this. That is a different guide for a different room.
I also left out headset mics and lavaliers. Fine for video, wrong for a podcast where the mic is the entire product. And I left out interfaces, because the whole point of the two mics above is that one of them does not need one.
What this all costs
The math is simple and it is not really about the mic. The TONOR is the cheapest complete path, because it needs no interface and no separate purchase to start recording tonight. The Rode bundle costs more upfront but bundles the arms, the cables, and the headphones, so there is no second order of accessories waiting to surprise you.
Either way, the money you do not spend on the upgrade treadmill is money you can put into the room: a moving blanket behind you, a rug on the floor, a bookshelf in the corner. Check current Amazon price on both mics before you decide, because this market reprices constantly and the better value flips back and forth.
A microphone you are afraid to use is worse than a worse microphone you use every day. Buy one of these two, mount it properly, set the gain low, and spend the rest of your budget on the room. That is the whole job.