Most people who buy a wireless microphone for iPhone and Android recording do it for the right reason. They want to stop sounding like they are shouting from the bottom of a stairwell. Then they clip the transmitter on, hit record, and send me a file that hums, clips, and picks up the refrigerator through two walls. The kit was not the problem. The setup was.
I have edited north of 4,000 episodes for other people. That number is not a flex, it is a diagnosis. I have heard what a lav sounds like when it sits under a chin, when gain is set by hope instead of by meter, and when the recording happens in a room with hard floors and a bare wall behind the talent. The microphone choice matters less than any of that, and the fix takes twenty minutes.
This is the workflow I run with phone-based wireless kits, and the two Hollyland Lark A1 kits I would start with.
Why you should trust me
I am a podcast editor and audio engineer in Brooklyn. I run a small treated studio where I record voiceover and teach podcasters, and I have an untreated kitchen that is a much better predictor of how your episode will actually sound, because most people record in a kitchen or a bedroom with a laptop fan running.
I keep spectrograms of every microphone that comes through here. I have tested more than 30 of them in both rooms, and the same lesson shows up every time: off-axis rejection and placement beat frequency response. A cheap mic placed correctly beats an expensive mic pointed at the ceiling.
I also make money fixing audio, which is a bias you should know about. I would rather you fix the room and the placement than buy anything at all.
How I picked and what I check before I recommend a kit
Wireless kits for phones all promise the same thing: cable-free audio that goes straight into the phone you already own. Most deliver about 70% of that promise, and the missing 30% is where your edit time goes.
Here is what I check.
Does it work without an interface? If a kit needs a box between the mic and the phone, it is not a phone kit. The whole point is one cable, or none.
Does the mount survive a month? A sagging clip means the mic drifts into a shirt collar, and a capsule rubbing on fabric is a problem no plugin removes. Magnetic mounting is the interesting option here because it does not depend on a hinge that loosens.
What does it do with plosives? A lav at collar height takes every P and B straight to the capsule. Placement fixes most of it. Nothing fixes a capsule aimed directly at a mouth.
Does it hear the room or the street? I record everything in the kitchen for a reason. If a kit pulls in the fan in the next room, the spectrogram shows it and so will your listeners.
Does the receiver match your phone? USB-C is standard on most current phones, but check your own port before you order, because the adapter situation is where phone audio gets stupid.
The two kits I would start with
Both picks are the same platform in two configurations: two transmitters, one USB-C receiver. The difference is the charging case. That is the whole decision, and I will tell you which way I lean.
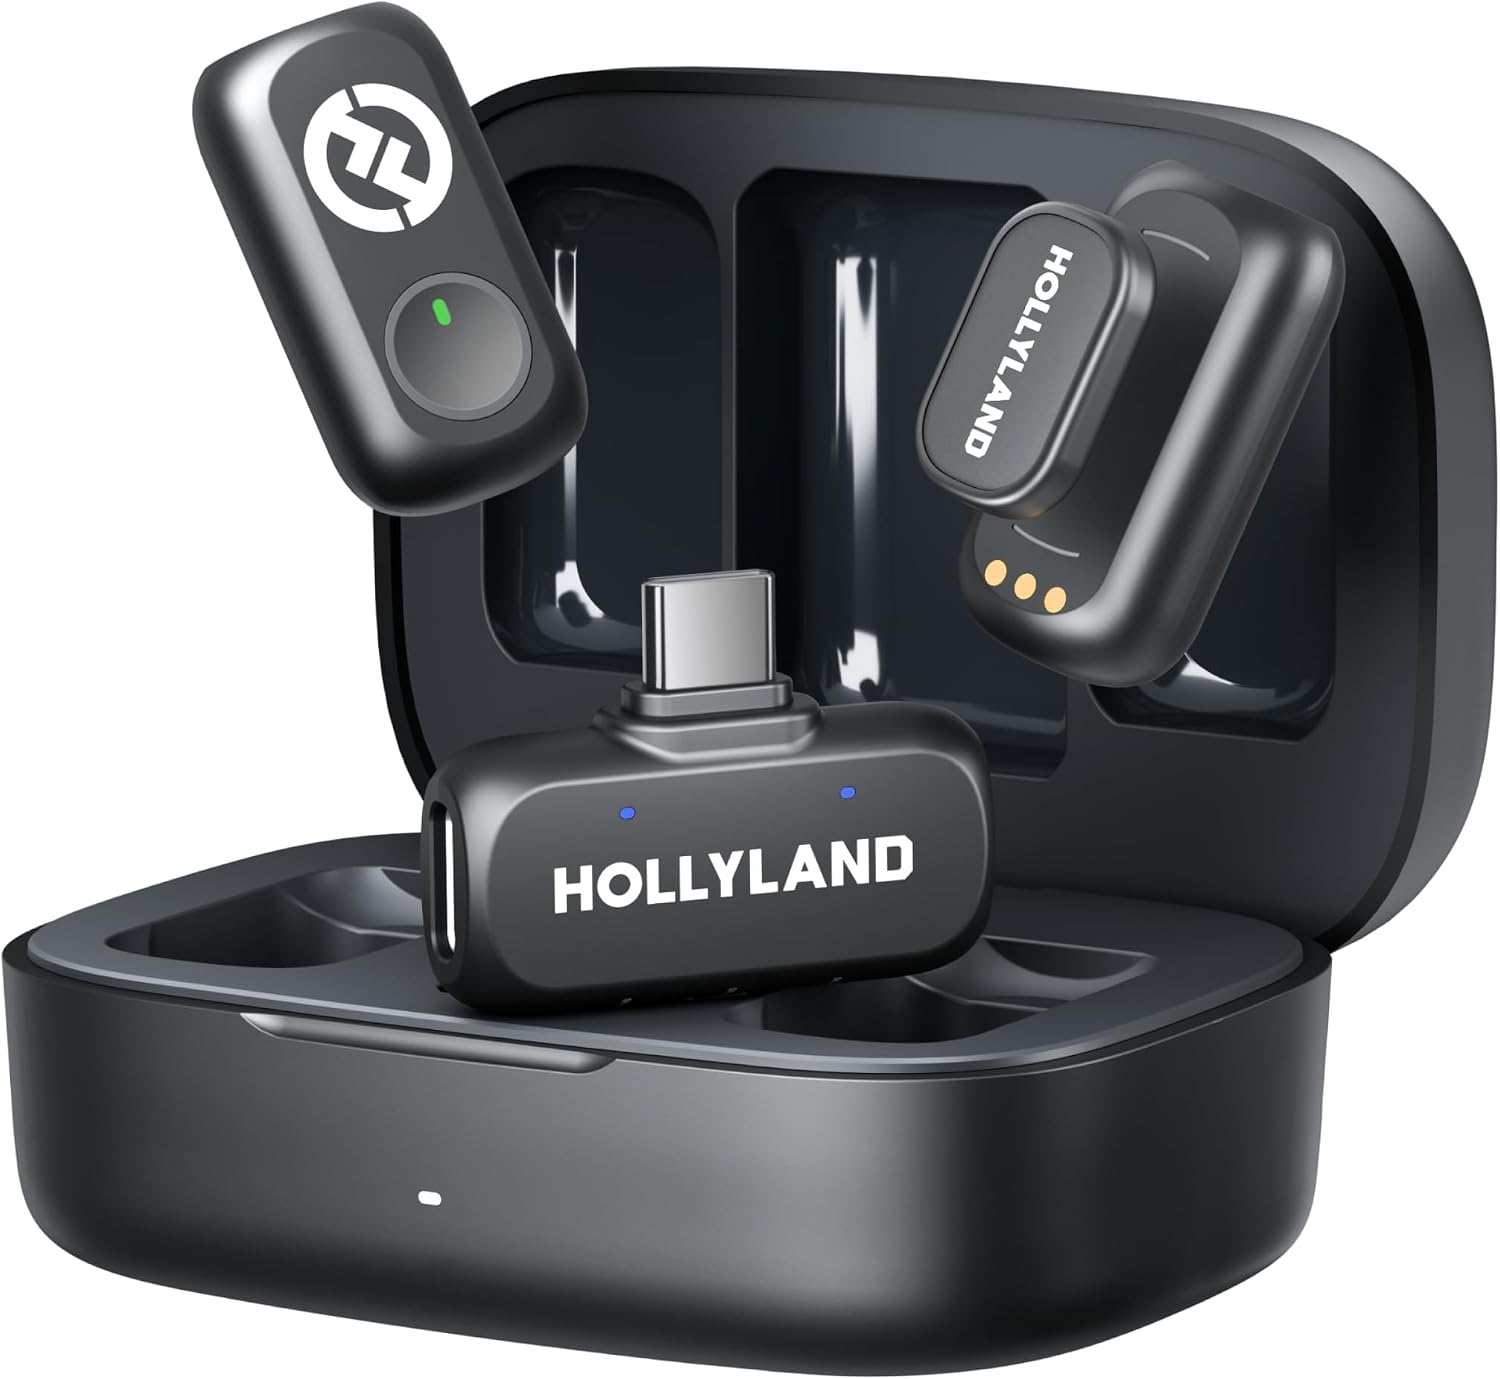
The kit I would buy first: Hollyland Lark A1 (2TX+USB-C RX+Charging Case) Wireless Magnetic Microphone
 Visit on Amazon →
The charging case is the reason to pick this version. Two transmitters and a receiver that live in a case are charged when you grab them, which sounds like a small thing until you are the person who shows up to an interview with a dead transmitter. That failure mode kills more recordings than bad gear does.
The magnetic mount is the second reason. Magnets let you put a transmitter on a shirt without a clip digging into a collar, and they let you reposition in seconds when the talent turns their head and the mic is suddenly pointed at a shoulder.
Two transmitters is not a luxury if you ever record a conversation. A two-person interview on one mic means one person sounds close and one sounds like they are in the hallway, and no amount of EQ makes those two match. With two transmitters you get two sources you can gain stage separately.
Flaws but not dealbreakers: A case is one more thing in your bag, and it only helps if you put the transmitters back in it. If your gear lives loose in a backpack, you will not get the benefit.
Anyone recording interviews, two-host shows, or video with more than one person on camera should start here.
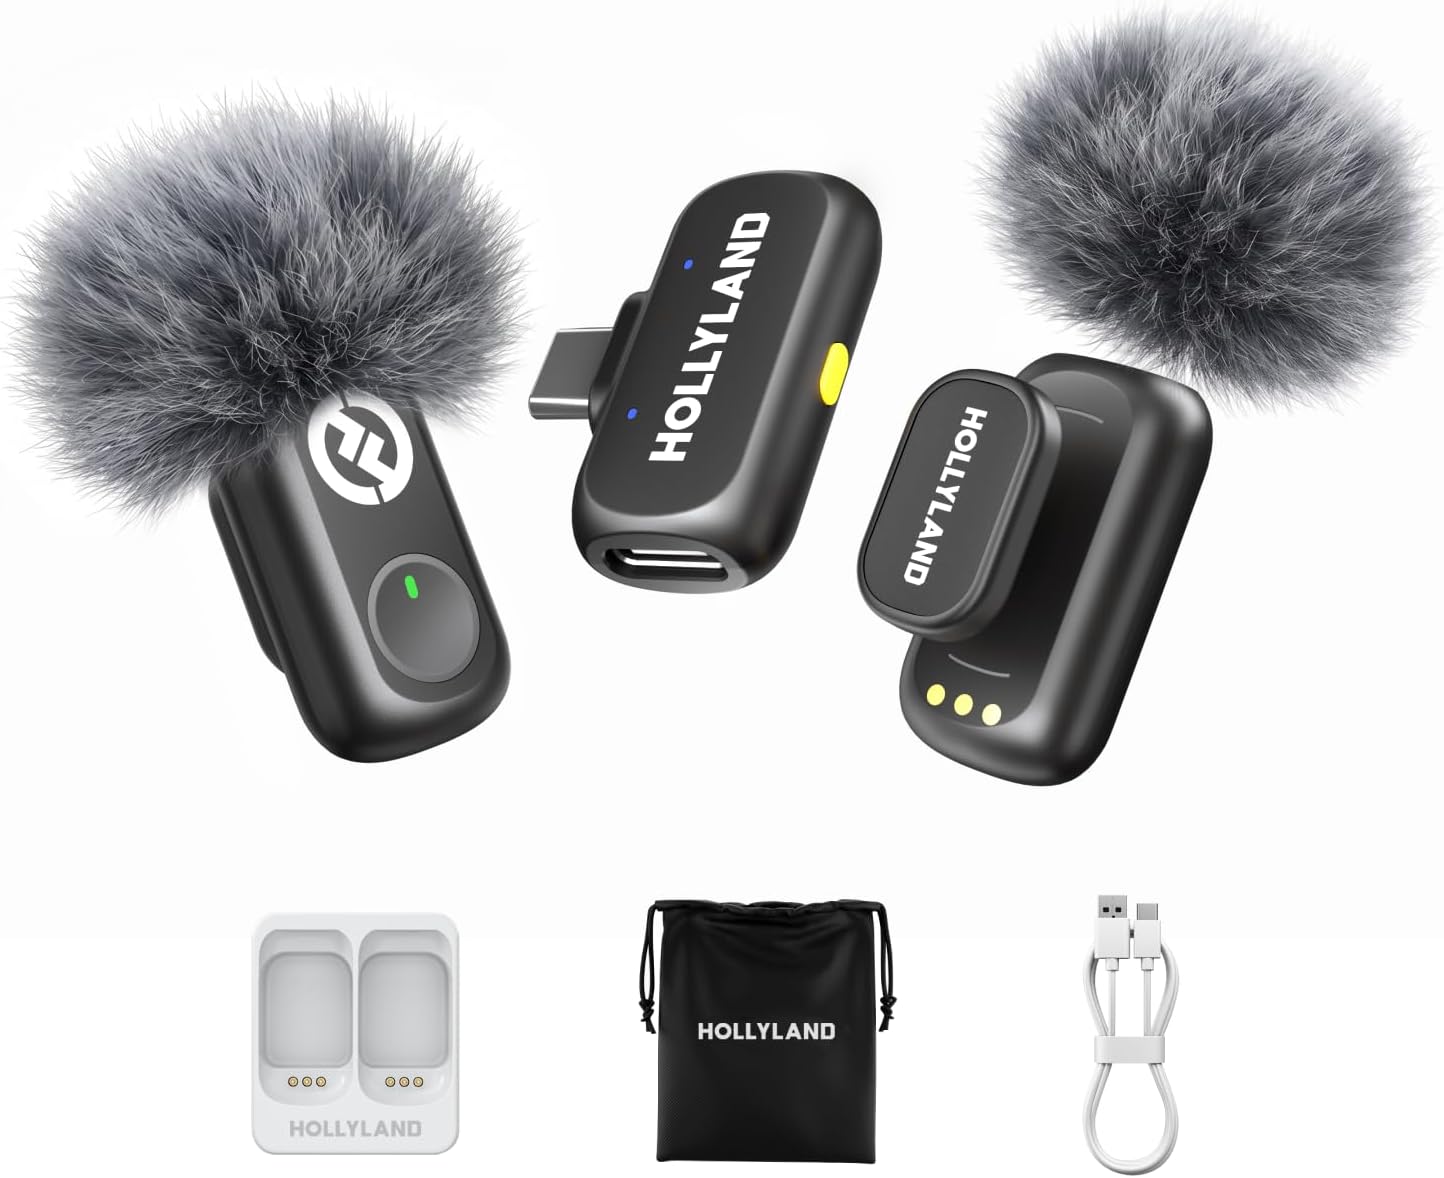
The lighter kit: Hollyland Lark A1(2TX + USB-C RX), Wireless Microphone for iPhone & Android
 Visit on Amazon →
Same two transmitters, same USB-C receiver, no case. If your kit lives on a desk and never travels, this is the version that leaves money for a pop filter and a stand that does not sag.
The honest case for this one is that a case is a convenience, and convenience is only worth paying for if it changes your behavior. Record in the same room every week, with a home for your gear, and you are paying for a box you will not use.
Flaws but not dealbreakers: No case means no single place where everything lives, so cable and transmitter loss is on you. Buy a small pouch and treat it like the case you skipped.
Anyone recording solo in one room, or buying a second kit as a backup, should take a hard look here.
The setup workflow, step by step
Now the part that actually decides how your recording sounds.
Step one: charge everything the night before. Both transmitters and the receiver. If you bought the case version, put them back in the case when you finish. Recording day is not the day to discover a dead battery.
Step two: plug the receiver into the phone and confirm the phone sees it. With a USB-C receiver that means a direct connection. If your phone uses a different port, sort the adapter out before you are on location. Then open your recording or camera app and confirm it is using the external input and not the built-in mic. Some apps default to the phone mic and never tell you.
Step three: put the transmitter where a collar mic belongs. Six to eight inches below the chin, off to one side, not dead center. Off-axis placement is your first defense against plosives and it costs nothing. With the magnetic mount, use it to get the capsule off a fabric seam and away from zippers and buttons.
Step four: set gain by meter, not by ear. Record ten seconds of the loudest thing the person will say and watch the meter. You want peaks with headroom, not peaks kissing the ceiling. If the meter hits the top, you have lost the take. Digital clipping is not a warm analog thing. It is a buzz you cannot remove.
Step five: record room tone. Thirty seconds of silence in the room before anyone speaks. You will want it in the edit, and it takes half a minute. If you can hear a fan, a fridge, or traffic in that silence, you now know what you are fighting.
Step six: clap once if you are running a second camera or a backup recorder. One clap at the top gives you a sync point. Two seconds of habit, an hour saved.
Step seven: test the two-transmitter setup before the interview. If two transmitters feed one receiver, find out how that receiver hands the channels to your app before you record a conversation you cannot redo. Separate tracks or a mix? This is the most common surprise with dual-transmitter kits.
Step eight: monitor if the kit lets you. Use headphones for the first minute. They catch an unpaired transmitter, a half-seated cable, and a wrong gain setting.
Step nine: leave the phone somewhere it cannot move. Handling noise from a phone in a pocket or on a shaky table is a problem no microphone fixes.
Where these kits fall short
Wireless phone kits have real limits, and pretending otherwise is how people end up disappointed.
Wireless is shared space. Everyone in the building competes for the same spectrum, and a crowded apartment or a convention hall is a harder environment than your living room. Line of sight between transmitter and receiver matters more than any spec sheet suggests.
A USB-C receiver means the phone is your recorder, so you are using a phone's storage, a phone's battery, and a phone's app. Plan for power on long sessions.
There is no XLR output here, so this is not a path into a mixer or an interface. That is fine. If you need that path, you already know why, and this is not the kit for it.
And no wireless kit fixes a hard room. A lav in a bare-walled room with a tile floor still sounds like a bare-walled room with a tile floor. Soft material on the walls and a rug on the floor will do more for your audio than the next microphone you buy.
What this all costs
The two kits sit in the same bracket, and the difference between them is the case. That is the entire delta.
Check current Amazon price for both and do the math against your own habits, not the spec sheet. If a case is what makes your gear charged, it pays for itself in one saved recording. If it is not, put the difference toward the things that actually move your sound: a pop filter, a stand that holds position, and something soft on the wall behind the person talking.
The upgrade treadmill is real and it is expensive. The microphone is rarely the weak link in a home recording. The room and the placement are, and neither of them ships in a box.
The part nobody wants to hear
I have edited thousands of episodes and I can count on one hand the ones where the microphone was the reason the audio was bad.
The whole workflow in one line: charge the kit, plug in the receiver, confirm the phone is using it, place the transmitter six to eight inches below the chin and off to one side, set gain with headroom, grab room tone, clap once, then stop touching things.
That is a twenty-minute job, and it is the difference between a kit that sounds like a kit and audio that sounds like a show. The gear is the easy part. The setup is the job.